
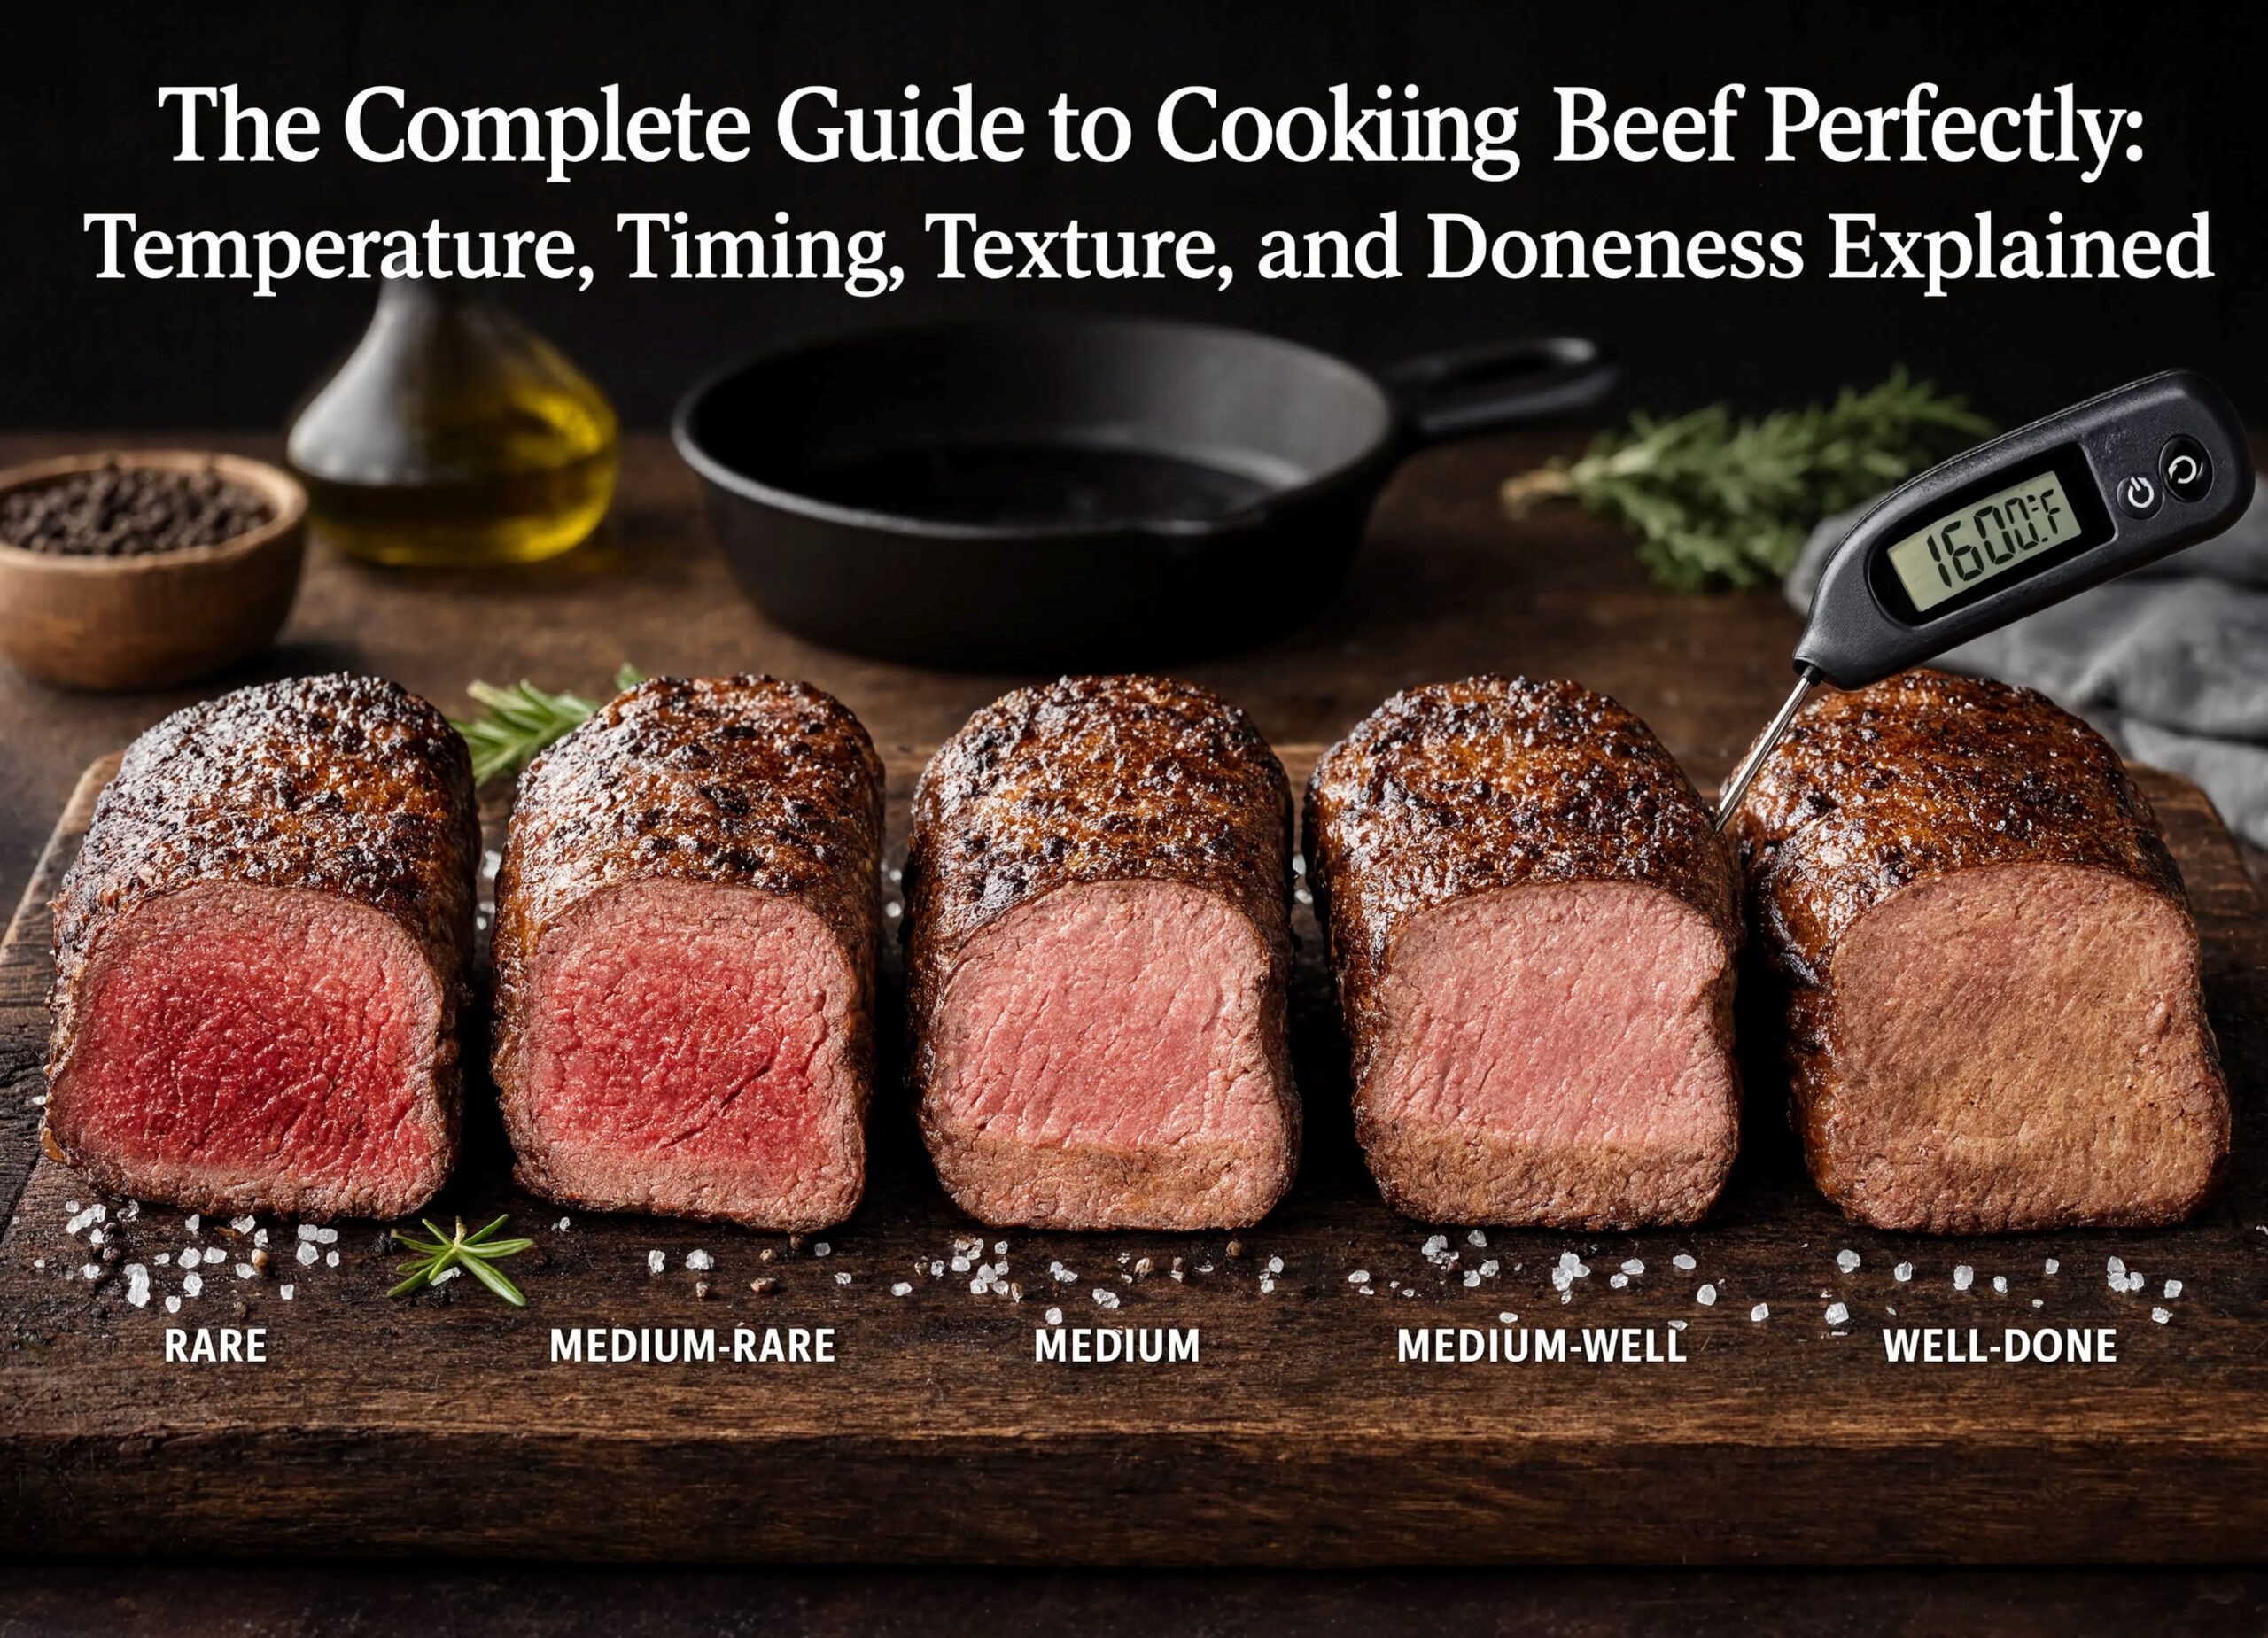
I can still recall the sinking feeling, years ago, when I pulled a beautifully marbled ribeye from the grill, only to carve into a grey, disappointingly tough interior. I had used the “poke test,” relying on the supposed firmness of the meat against my finger, a method lauded by well-meaning barbecue enthusiasts. The result was a steak that was simultaneously overcooked on the outside and underdone near the bone. That moment of frustration is what truly set me on a fifteen-year journey to understand the science of cooking beef, moving beyond guesswork to precision. In my kitchen today, guesswork is a relic of the past. The truth is, cooking beef perfectly isn’t about instinct or a magic timer; it’s about understanding the fundamental relationship between heat, protein, and time. By the end of this guide, you will move beyond the myths. You will grasp the scientific principles that dictate a steak’s texture, understand why temperature is your most reliable tool, and master the technique to achieve any level of doneness with absolute, repeatable confidence.
The Underlying Science: The Protein Transformation
At its core, cooking beef is a process of protein denaturation and water management. A piece of raw meat is composed of long muscle fibers bundled together and held by connective tissue, which is rich in collagen. The primary proteins within these fibers, myosin and actin, are coiled and folded structures. As heat is applied, these proteins begin to unwind and change shape in a process known as denaturation . This process starts as low as 105°F (40°C). As these proteins denature, they squeeze together, expelling the moisture trapped within the muscle fibers. This is the central scientific struggle of cooking beef: managing this moisture loss to preserve juiciness.
The magic truly begins around 130°F to 135°F (54°C to 57°C), the sweet spot for medium-rare. At this temperature, the proteins have denatured just enough to create a tender texture while retaining a significant amount of their internal moisture . The connective tissue, however, requires a different approach. Collagen, a tough, rope-like protein, only begins to break down into gelatin at around 160°F (70°C). This transformation is the key to tough cuts like brisket and short ribs. To achieve this, you must apply low, moist heat for an extended period, allowing the collagen to melt into gelatin, which then absorbs the expelled water and creates a sensation of moistness . This is why a well-done steak and a tender, pulled brisket are two entirely different scientific outcomes, despite both reaching high internal temperatures. The steak’s simple structure loses its moisture and turns tough, while the brisket’s complex collagen transforms to compensate.
Step-by-Step Technique Guide
Having experimented with countless methods, I have found that the “reverse sear” is the most reliable technique for achieving a perfectly cooked steak, from edge to edge. This method, ideal for cuts at least 1.5 inches thick like ribeye or New York strip, begins in a low oven and finishes in a screaming-hot pan. The goal is to dry the surface and slowly bring the internal temperature to your target without creating a large, grey band of overcooked meat beneath the crust.
Begin by placing your seasoned steak on a wire rack set over a baking sheet and cooking it in an oven preheated to 250°F to 275°F. Insert a leave-in probe thermometer to monitor the internal temperature. This slow heat allows the meat to cook evenly. The ideal pull temperature, or the temperature at which you remove the steak from the oven, is about 10°F to 15°F below your desired final doneness . For a medium-rare final temperature of 135°F, you will pull the steak from the oven when it reaches about 120°F to 125°F . While the steak rests briefly, heat a cast-iron skillet or heavy pan over high heat with a high-smoke-point oil like avocado oil. The searing phase should be aggressive and quick—about 45 to 60 seconds per side. The goal is to build a deep, flavorful crust through the Maillard reaction without further cooking the interior. The final tool in this technique is your rest. The steak’s internal temperature will continue to climb by 5°F to 10°F due to carryover cooking . This is a critical variable, so always account for it.
Comprehensive Troubleshooting Section
If your beef is consistently turning out tough and dry, the culprit is almost always an overcooked internal temperature. On a simple steak, this means you have squeezed all the moisture from the protein. There is no kitchen alchemy that can restore the moisture to a well-done, leathery steak. It is a loss that happens at the molecular level. However, you can salvage the situation by serving it with a flavorful, rich sauce to compensate for the lack of natural juices. If your beef is tough and chewy but not dry, you have likely encountered unrendered collagen. This happens when a tough cut like a chuck roast is not cooked long enough to break down the connective tissue. The solution is to add a bit of liquid, cover it, and continue cooking at a low temperature (around 300°F) until the internal temperature reaches the 200°F to 205°F range, at which point the collagen will break down. It is not done by temperature alone but by time and a texture you can feel .
Conversely, if your steak’s exterior is burnt while the interior remains raw, the heat source is simply too high. The Maillard reaction has occurred too quickly. For your next attempt, lower the cooking temperature and incorporate a resting period between the slow-cook and sear stages. Conversely, if you have a thick, beautiful grey band beneath the crust, the cooking temperature was too high from the start. The reverse sear method is the definitive fix for this problem, promoting even heat penetration. Finally, if you find your thermometer is giving inconsistent readings, it is time to calibrate it. An inaccurate probe is a liability. A simple ice-water test—a glass of ice topped with water should read 32°F—will quickly reveal if your tool is reliable .
Frequently Asked Questions
Why don’t I just cook to a final temperature from the start?
The phenomenon of carryover cooking is the primary reason. When you remove a piece of meat from the heat, the residual heat from the hot exterior continues to travel inward, raising the internal temperature for several minutes. For a 1.5-inch steak, this can be a 4°F to 6°F increase, and for a large roast, it can be 8°F to 10°F or more . If you pulled the meat at your final target, it would inevitably overshoot it. Pulling at a lower temperature accounts for this unavoidable process.
Is it safe to eat medium-rare steak?
Yes, for whole-muscle cuts such as steaks, roasts, and chops, it is generally safe. The primary bacterial threat, E. coli, lives on the surface of the meat, not in the interior. A high-heat sear effectively kills these surface pathogens, making the rare or medium-rare interior safe to consume . Ground beef is a different matter entirely. Grinding distributes any surface bacteria throughout the entire batch of meat. For this reason, I always recommend cooking ground beef to a safe internal temperature of 160°F.
What thermometer should I buy?
You need two. An instant-read digital thermometer is essential for its speed and accuracy, giving you a reading in seconds when inserted into a steak or burger . For slow-cooked roasts, brisket, or any long-cook method, a leave-in probe thermometer with an alarm is indispensable. It allows you to monitor the temperature continuously without opening the oven or smoker, ensuring you hit your target without lifting the lid.
For more authentic article : duarecipes.com